
 EN


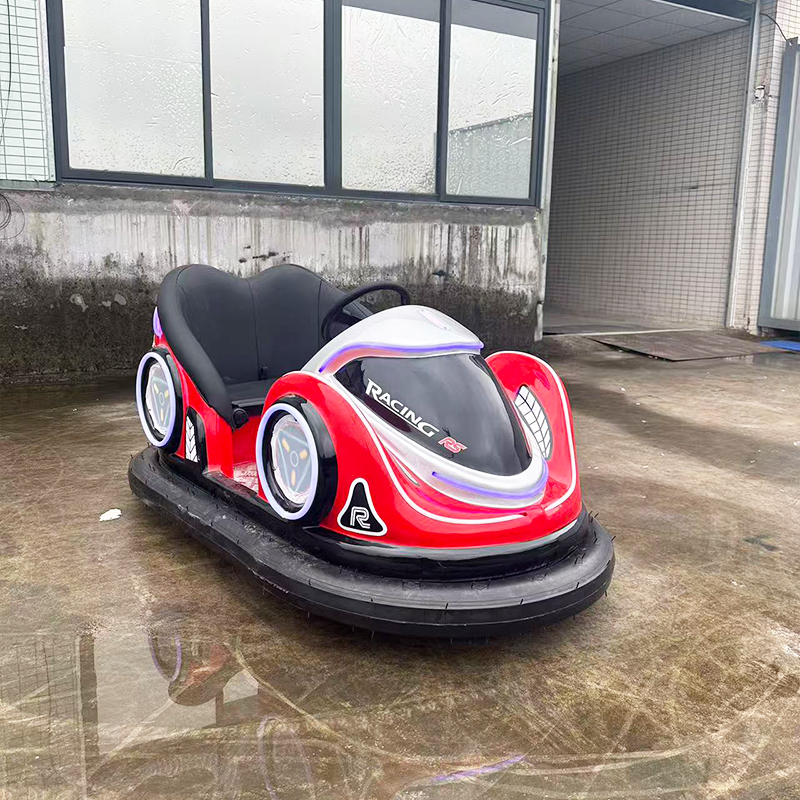
When a mini bumper car sits unused for an extended period, electrical components can deteriorate, and charging systems often develop faults that prevent the vehicle from powering up properly. Long storage periods create an ideal environment for battery discharge, corrosion on connectors, and degradation of charging circuits. Understanding how to identify and resolve these charging faults is essential for operators, maintenance technicians, and amusement park managers who rely on kids bumper car equipment for seasonal operations or stored inventory. This guide walks you through the most common charging problems affecting mini bumper cars and provides practical troubleshooting steps to restore full functionality.
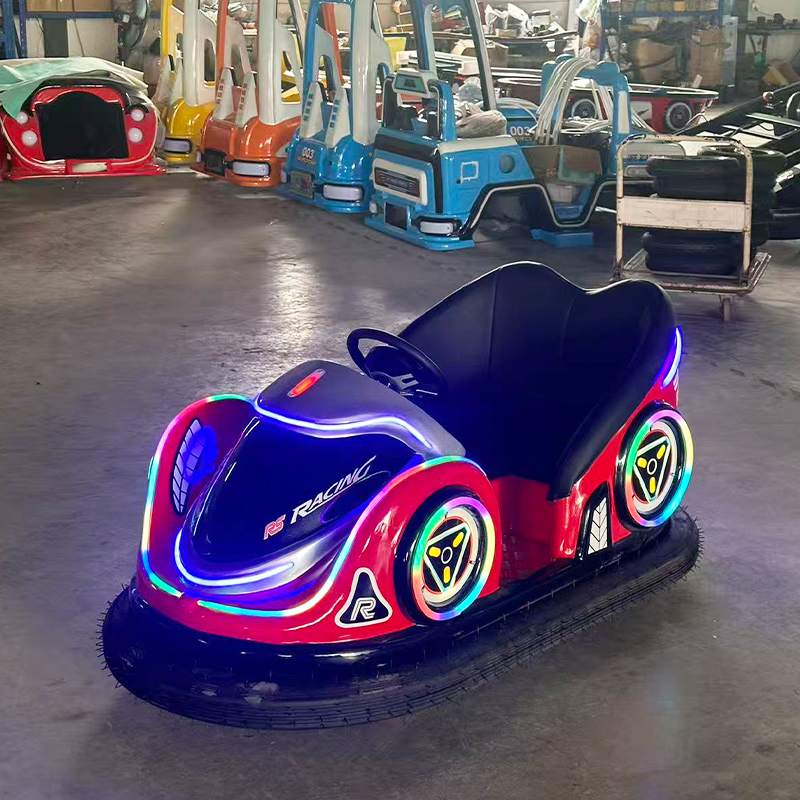
Before performing any repairs on a compact bumper car, always disconnect power sources and follow manufacturer safety protocols. Charging faults in small bumper car systems can stem from battery issues, charger malfunctions, loose connections, or corroded terminals. Recognizing the warning signs early prevents deeper damage and reduces downtime during peak operating seasons. The troubleshooting process requires basic electrical knowledge, proper testing equipment, and a systematic approach to isolate the root cause.
Identifying Battery and Charger Problems
Battery Condition Assessment
The first step in diagnosing charging faults in a kids bumper car is evaluating battery health. Batteries that remain unused for extended storage can develop internal damage, lose charge capacity, or suffer from sulfation on lead-acid types. Use a multimeter to measure the battery voltage at rest; a healthy battery should show the manufacturer's rated voltage, typically 24V, 36V, or 48V depending on the mini bumper car model. If voltage reads significantly below the rated level, the battery may require replacement rather than simple recharging.
Deep discharge during storage is common when a small bumper car sits idle without a maintenance charge protocol. Connect the battery to a qualified charger and monitor the charging process over several hours. If the battery voltage does not rise steadily or plateaus prematurely below full rating, internal cell failure has likely occurred. In such cases, battery replacement is the only viable solution. Always match the replacement battery specifications exactly to the original, including voltage, amp-hour capacity, and physical dimensions.
Charger Output Verification
A compact bumper car charger may fail to deliver power even if the battery is functional. Test the charger independently by connecting it to a different known-good battery from another kids bumper car or test unit. If the alternate battery charges normally, the original battery is the issue. If the substitute battery also refuses to charge, the charger itself has failed. Inspect the charger's power cable and plug for visible damage, melted sections, or loose wiring that may have occurred during storage.
Check the charger's indicator lights or display panel; most modern mini bumper car chargers display error codes or status messages. Consult the charger manual to interpret these signals. Common faults include thermal cutoff activation, ground fault detection, or internal component failure. If the charger powers on but shows no output voltage at the terminals when tested with a multimeter, internal circuitry has failed and professional repair or replacement is necessary.
Examining Electrical Connections and Corrosion
Terminal Corrosion Removal
After long storage, battery terminals and charging connectors on a small bumper car accumulate white, blue, or green corrosion deposits that block electrical current flow. This corrosion forms when moisture interacts with lead and copper materials. Disconnect the battery safely and inspect both positive and negative terminals for buildup. Gently scrub the corroded surfaces with a wire brush or steel wool, working carefully to avoid spreading corrosion particles. For stubborn deposits, apply a small amount of baking soda mixed with water to dissolve the corrosion chemically.
After cleaning, wipe terminals dry with a clean cloth and apply a thin coat of dielectric grease or terminal protectant to prevent future corrosion. Reattach the battery cables firmly, ensuring the clamps hold without wobbling. Loose terminal connections are a leading cause of charging faults in kids bumper car systems. Before reconnecting power, visually verify that all connections are tight and corrosion-free. A secure connection is crucial for efficient current transfer during charging cycles.
Connector Pin Inspection
Many mini bumper car models use multi-pin charging connectors that separate during storage. Each pin must maintain electrical contact with its corresponding terminal on the charger. Inspect both the charger connector and the vehicle's receiving connector for bent pins, missing contact surfaces, or foreign debris inside the connector housing. Gently straighten any bent pins using a small jeweler's screwdriver or precision tool, being careful not to break the pin.
Clean the interior of the compact bumper car connector using compressed air to remove dust, sand, or storage debris that may block proper seating. If pins are damaged beyond straightening or the connector body shows cracks, replacement connectors are typically available through the vehicle manufacturer or authorized distributors. Reinstall the connector firmly until you hear or feel a click, confirming full engagement. Test the connection with a multimeter to verify continuity between charger and battery terminals before applying full charging current.
Testing the Charging Circuit and Resolving Common Faults
Voltage and Current Flow Measurement
With connections cleaned and terminals secured, perform a full circuit test on your kids bumper car charging system. Set a multimeter to DC voltage mode and connect the probes directly to the battery terminals while the charger is running. You should observe a steady voltage output from the charger that slightly exceeds the battery's rated voltage; for example, a 48V system charger typically outputs 52-56V during charging. If voltage output is absent or fluctuates erratically, the charger's internal regulation circuit has failed.
Next, measure the charging current using an ammeter in series with the battery circuit. A healthy charging cycle shows steady, gradually decreasing current flow as the battery approaches full charge. If current drops to near zero immediately after connection, internal battery resistance is excessive, indicating cell failure in the small bumper car battery. If current never rises above a trickle despite extended charging time, check for loose internal battery connections or failed charger output stages.
Fuse and Circuit Breaker Evaluation
A mini bumper car charging system often includes fuses or circuit breakers that protect against overcurrent and electrical faults. Locate these components, typically mounted near the battery or charging port, and visually inspect them for blown fuses or tripped breakers. A blown fuse appears darkened, cracked, or separated inside its transparent casing. Replace blown fuses with identical ratings only; using a higher-rated fuse bypasses critical safety protection.
If a fuse blows repeatedly immediately after installation, an internal short circuit or ground fault exists elsewhere in the compact bumper car electrical system. Do not continue replacing fuses without identifying the underlying cause, as this creates fire risk. Test the charger output with an insulation meter to check for unintended ground paths in the charging cables or connectors. If a short circuit is confirmed, disconnect the vehicle from power and consult professional service resources or the manufacturer before attempting further repairs on the kids bumper car.
FAQ
How long can a mini bumper car sit before charging problems develop?
Most mini bumper car batteries can remain unused for 2-3 months without significant damage if stored in a cool, dry environment. However, after 4-6 months of complete inactivity, battery self-discharge and corrosion become increasingly problematic. For extended storage, many operators apply a trickle charge every 30 days to maintain battery health. A small bumper car left uncharged beyond six months may require battery replacement before resuming operation, depending on environmental conditions and battery chemistry.
Can I use a standard automotive charger on a compact bumper car?
No, using a standard automotive charger on a kids bumper car is unsafe and may cause permanent damage. Bumper car charging systems operate at specific voltages and current limits calibrated to the vehicle's battery capacity, typically ranging from 24V to 72V. A standard automotive charger designed for 12V car batteries will either fail to charge or deliver improper current, potentially overcharging and damaging the mini bumper car battery. Always use the manufacturer-specified charger or a compatible replacement rated for your vehicle's voltage.
What is the typical charging time for a small bumper car after long storage?
A compact bumper car battery that experienced complete discharge during storage may require 8-12 hours of initial charging to reach full capacity, longer than the typical 4-6 hour charge cycle during regular operation. If the battery was only partially depleted, 6-8 hours usually suffices. Factors including charger wattage, battery size, and battery condition all influence charging duration. A kids bumper car should never be placed back into service until the battery reaches full charge and all electrical system tests confirm proper function.